How To: Gift Wrap a Kayak
Yes you read that right, a kayak! As if buying Christmas presents isn't stressful enough, you then spend hours wrapping them and end up getting angry at a roll of tape.
So to make it a little easier this year we have a quick step by step guide on how to deal with wrapping a whole kayak.
What you will need:-
- Approx 12m of wrapping paper.
- Scissors.
- A load of tape.
- LOTS of space.
- Way to much spare time.
- The patience of a saint.
The Short version - Here is a 30 second video of the whole wrapping process. Enjoy!
The long version -


The start is quite easy, measure and cut a sheet of paper, make sure you give it plenty of over hang for extra side coverage. Tape the sheet to the boat once you have got it in to the right position, with plenty hanging over the end to wrap around the tail of the boat.

The boat I was wrapping had both solid and cloth handles on it. The solid ones were quite easy, cut the shape in the first picture and then cut thin strips of paper and wind them around until fully covered. The cloth straps however took a little negotiating, again cut the shape in the first picture, pull the handle through and carefully slip the paper under and tape. To wrap the handle cut a blunt triangle shape with straight sides at the end as shown in picture 4, then just wrap and tape.

The next challenge is the cockpit rim, this is the most time consuming section of the boat. Cut large sheets that covers from the floor over the boat and back to the floor again on the other side, secure to the boat with a bit of tape. Gently scrunch the paper into position with your hands around and under the cockpit rim, then cut very small sections of tape and start taping under the rim where you've scrunched. As layers of tape start to build up the paper will hold its shape.

Using the paper that is covering the cockpit, cut it so that it can fall in towards the seat. This will give you a backing for the next sheet of paper. As you can see on the front of the cockpit, the sheet I used dips in to form the front.


To fill in the seat area get a large sheet and bent to find the rough middle, cut up the middle line about 15 - 20 cm depending on the shape of your kayak. Wrap one side of the cut over the other to create a shallow cone and place in the cockpit. Measure to the top of the cockpit, cut and tape as required. Cutting small slits around the top of the cockpitto create flaps can make the shaping much easier. I used the over hang from the front sheet to cover any rough edges and stuck both sheets together.

To tidy up the front of the cockpit cover it with another sheet of paper. Cut around the edge of the cockpit to get the desired shape, then make small cuts in the paper that go away from the cockpit to make flaps which give a much smoother shape once taped down.
NOTE make sure you tape the ends of all the cuts in the paper as this stops any ripping later in the wrapping process.
The underneath is nice and easy, use basic wrapping skills like folding and cutting to get the desired shape and smoothness (yes that's a word). By the end you should have some thing that looks like this.
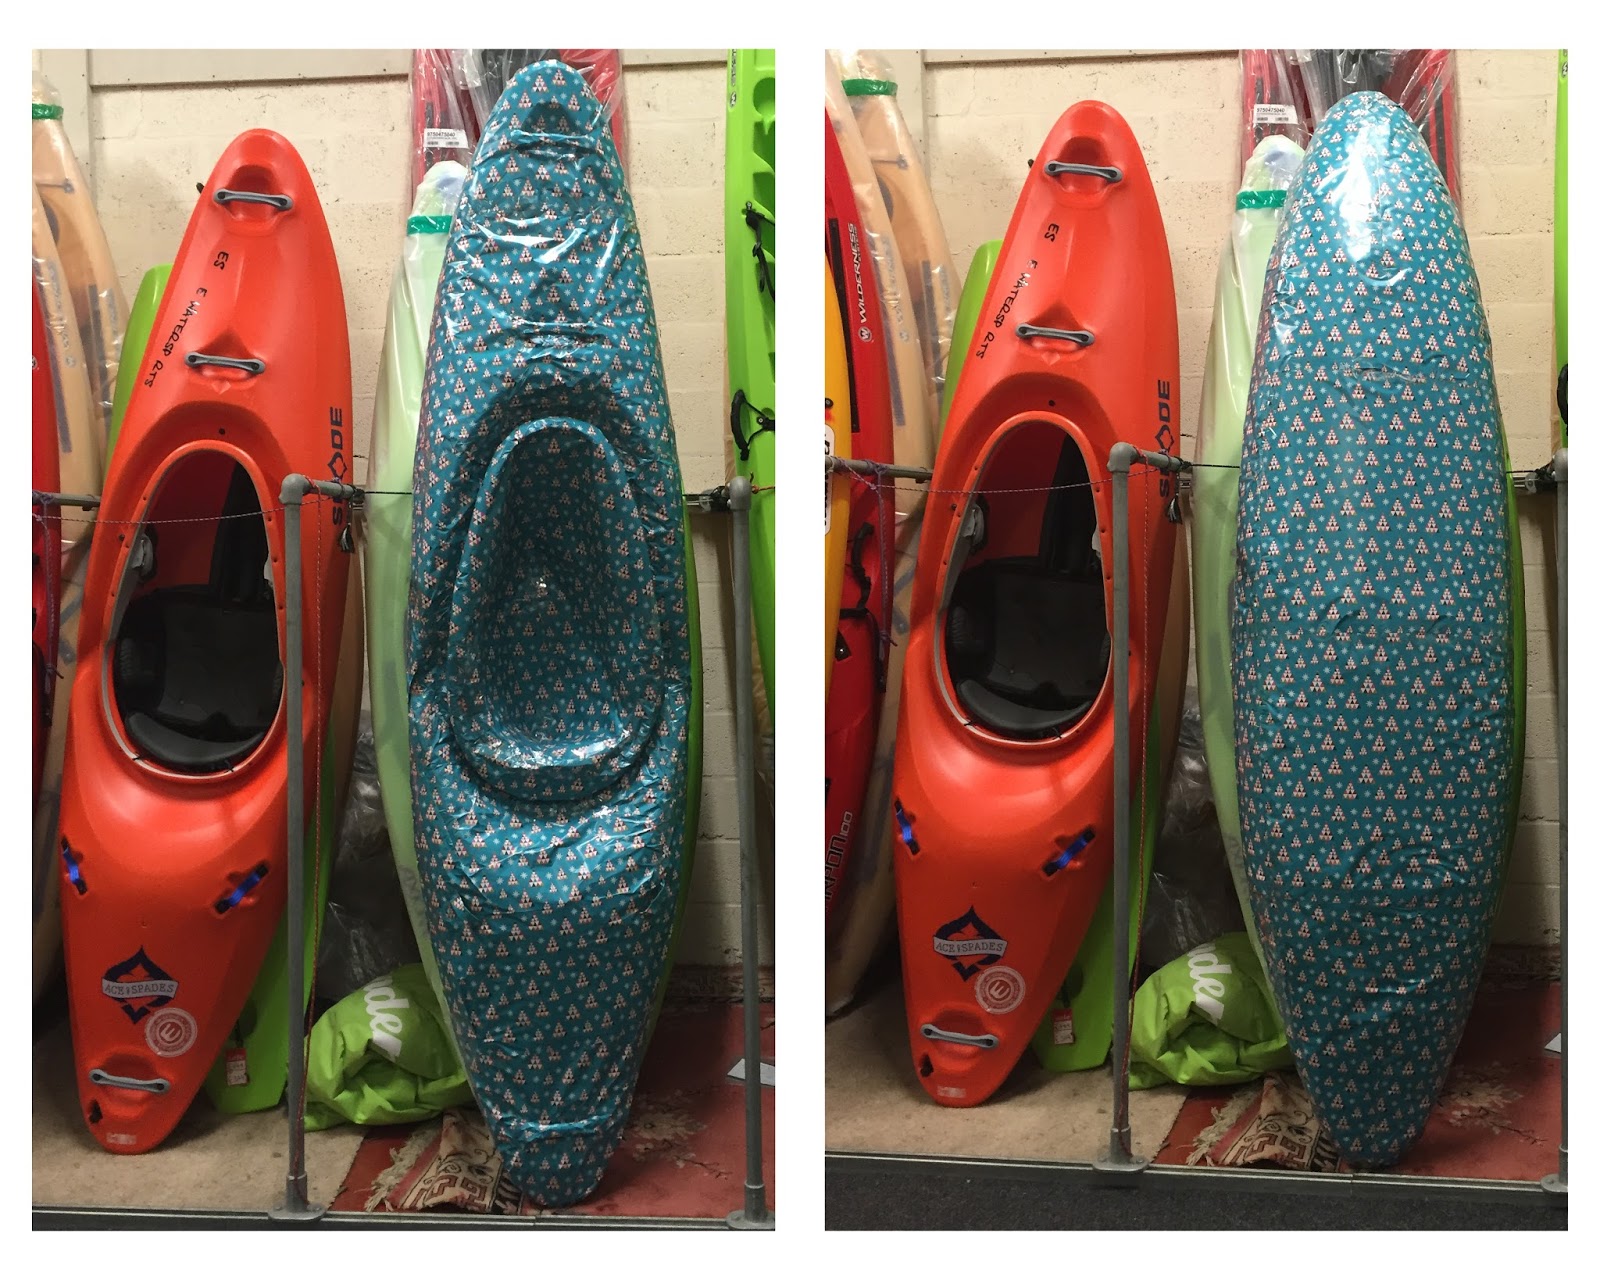
The gift wrapped boat is an Ace of Spades (also seen on the left).
The fully gift wrapped Ace of Spades is available for purchase but we only have the one, so first come first serve!

No comments:
Post a Comment